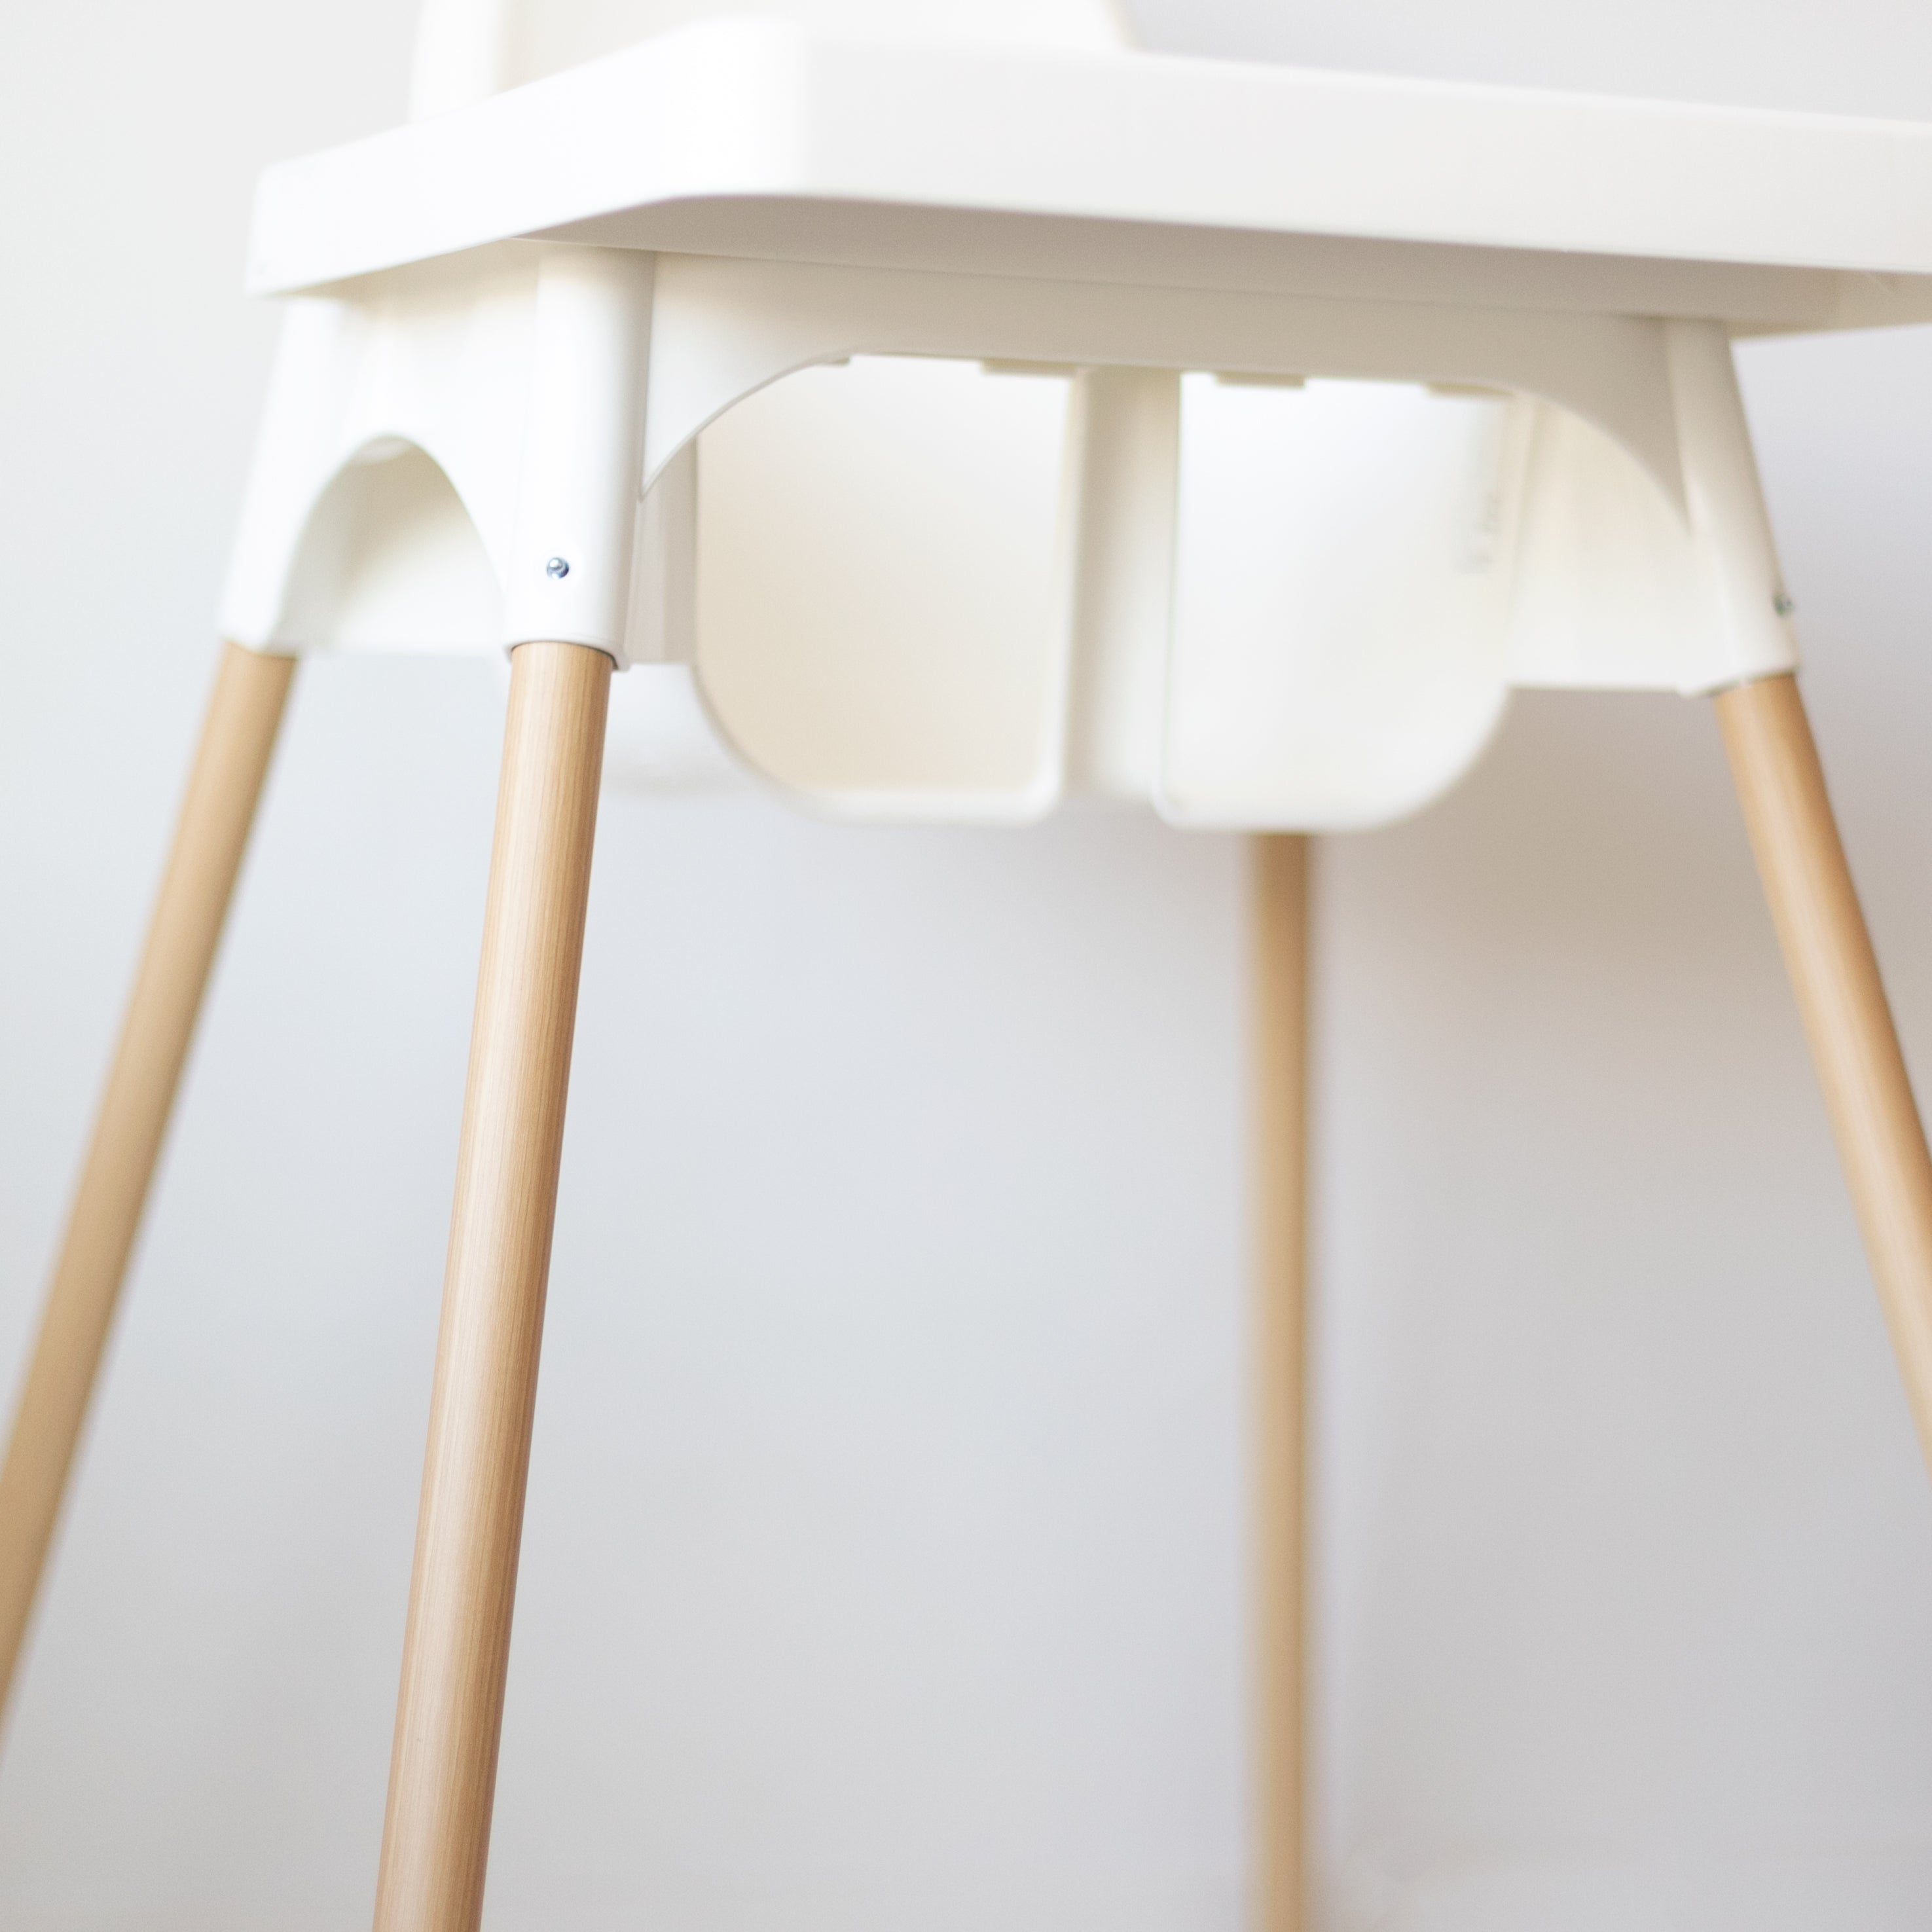
Skip Hop Activity Center Transformation

This hack has been all over Instagram, so we thought it would be helpful to put a step-by-step tutorial on our blog! If you need more details, we also have a YouTube Tutorial!
What You'll Need
- One Set of Yeah Baby Goods Leg Wraps
- An Exacto Knife
- Skip Hop's Explore and More Baby's View 3-Stage Activity Center
- Optional: Skip Hop's Explore and More Kids Chairs

Step 1: Take apart the activity center and remove each leg. Slide the grey piece up and off as well (it may take a little elbow grease!).

Step 2: Take one leg wrap and peel the backing off about 5 inches. Line up the edge of the leg wrap with top of the activity center leg (where the plastic and metal meet).
Step 3: Peel the backing off a little at a time, pressing down the leg wrap adhesive as you go. Keep it centered and smooth out any bubbles as you go.

Step 4: Once you get to the bottom, wrap the adhesive around the leg one side at a time.
Step 5: Cut the extra off with an exacto knife. The tip of the knife should fit nicely in the groove where the plastic and metal meet.

Step 6: Put the grey piece back on the leg and re-assemble the activity center. That's it!
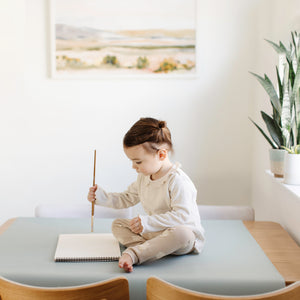
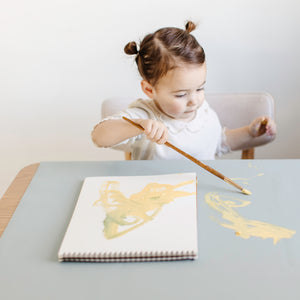
Did you know the Skip Hop activity center can convert to a child's table? If you decide to get the chairs that are sold separately, you can second a second set of leg wraps to wrap them as well!


